Recipients who flag your mail as “Spam” or “Junk” have the greatest impact on your reputation as a sender. It is essential you avoid this at all costs by delivering great and relevant campaigns to recipients who want to receive it.
To avoid complaints, you should:
Never use a purchased, harvested or “scraped” list of any kind
Ideally, they should have opted in to the list; at the very least, make sure you have a direct relationship with every single address on your list – ie, avoid sending on behalf of a third party
Make your sign-up process clear, explaining what someone is signing up for, when they will start receiving emails, and how often they can expect to hear from you; you can also include this information in the confirmation email you send.
If you comply with all of these rules, you’re off to a great start. To make things even better you’ll want your list (and the messages you send to them) to be both segmented and your content to be well-targeted.
Groups help you put together users within a contact list based on a set of criteria that you define. By separating users from a single list into groups, your email campaigns can be more focused and you can refine your content for specific types of subscribers.
To create a new group from within a list, click on the list name, followed by Manage Groups on the left hand menu.
On the following page, click on Create a Group. Here you will define the rule by which you will segment your list.
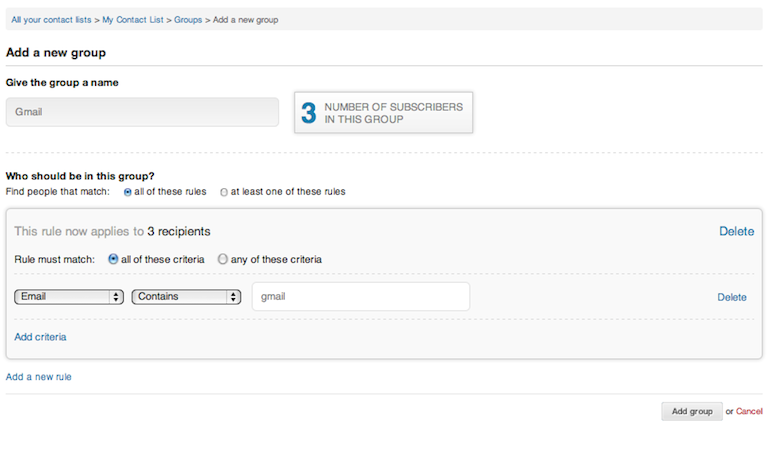
For the following example, we have chosen to stream a contact list into users that have “gmail” as an email account. We have named the list and added the following rules:
Email must contain gmail
You will see the total number of recipients found on the list displayed next to the group name.
Remember:
You may apply as many criteria or rules as you’d like to a given group.
You may also create as many groups as you want for any given list. This will help you separate and target users accordingly.
If you create groups based on a “Date” format must be: YYYY-MM-DD
After the group has been successfully created, you will see it available under your contact list. You will also be able to edit the group name, rules, view the number of subscribers, engagement percentage and the last time the group was used.
The campaign builder allows you to add and remove sections from your email with ease, set a color scheme, edit plain-text, use advanced HTML modes, and test your campaign all from a single window.
Note: All changes are saved every two minutes.
Sections
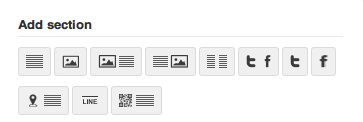
Content sections include a variety of components: standalone images, image + text, standalone text or more interactive elements like QR codes, Google Maps and social media elements.
Add
To add a section to your email, click on the thumbnail of the appropriate section. This will automatically add it to the bottom of the email.
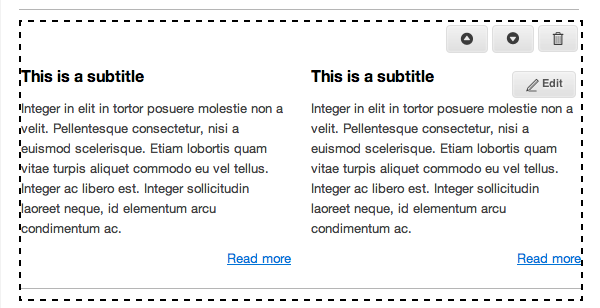
Move/Remove
To reposition or remove a section from your email, hover over the section to prompt the positioning menu. To move a section up or down within the template, simply click the arrows until you reach the desired spot. To remove the section, click on the trash bin icon.
Edit
To edit a section, hover over the area to make the edit button appear.
Clicking on it will display the edit menu on the left-hand side. Remember to save your changes!
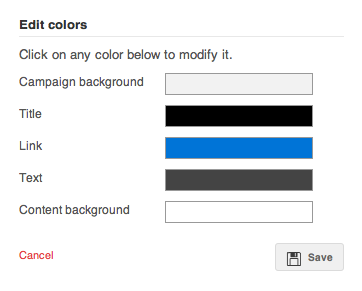
Choose color scheme
Here you will be able to change the color scheme of your email – this includes your campaign background, title color, link color, text color, and content background color.
Click on change colors under Choose Color Scheme to display the menu.
Select the color bar in each option to display the color palette. You will be able to see the color change in real time in your email design and in the color palette as well the previous color used, making it easier to compare changes.
Edit plain-text version
The plain-text version of your email is displayed when subscribers are unable to display the HTML version of your campaign. You can manually add text or click on Generate from HTML to have the system do it for you (some formatting may still be required). Remember to press Save to keep your changes.
Auto-save is now enabled on all campaigns edited in with the new editor. Read more on auto-save and browsing previous versions.
Enter advanced editing mode
Advanced editing mode will allow you to view and edit HTML source code, as well as edit email campaigns in WYSIWYG mode. Using HTML mode is recommended for advanced users only.
Note: Our templates are optimized for email clients. If you modify the code, we cannot guarantee that the templates will function correctly.
Using WYSIWYG mode will switch to a new editing view. You will be prevented from using content sections available in the basic editor.
Once you switch to either editing mode, you will not be able to return to the campaign builder view. If you are an advanced user and would like to work in HTML mode only, click the checkbox to always default to HTML source mode in your campaign.
Test your campaign
Send yourself a test email to preview your campaign.
If you wish to have test versions of your HTML and plain-text emails sent to you individually, click the appropriate checkbox. Otherwise they will be sent as a single merged email (you will most likely see the HTML version of your email in your inbox in this case).
Email marketing campaigns consist of one email sent simultaneously to a large number of people with a specific objective; businesses worldwide use these to help them sell, connect and achieve their goals. In the long run, you can strive to get your subscribers to sign up for a webinar or purchase something on your site, but in the short term, you have to primarily focus on the interest of the reader and strengthen your relationship. Read more about it in our article about Content Strategy.
Why this is important
The majority of people check their email several times daily, so emailing your customers about your product makes sense. A direct relationship with your audience can only be established through it. Hence, email marketing is the best way to nurture leads. With a few clicks, you can connect with hundreds, thousands, or even more clients.
Text, images, videos, animations, and much more can all be used to convey your message. Your results will be tracked, such as how many people opened your campaign, clicked on it, how many were spammed, etc. Ultimately, it is a proven cost-effective marketing strategy.
How to create a campaign
You can send your recipients a campaign with our email marketing app. You have multiple options available when creating one; here is a brief overview of how to get started.
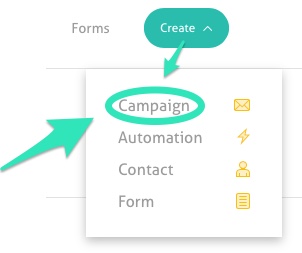
To start the creation process, select the Create tab in the upper right corner of the app, and click on Campaign.
You can then choose from the following options:
Use your own templates
Use a professional template
Reuse a previously sent campaign
Design your own template
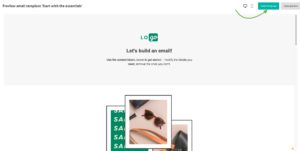
Once you’ve selected an option, you’ll be brought to the Email designer, where you can personalize and edit your template. Learn more about the Email designer.
Use your own templates
You might have built or branded a template and want to use it again. Here is how you can do it:
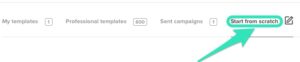
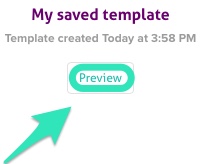
1. Click on the My Templates tab,
2. Select the Preview option below your preferred template.
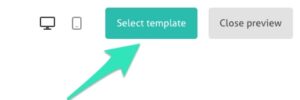
3. Click on Select template in the top right corner of the preview email window.
4. You can filter by the type of editor: HTML Editor or Email Designer.
5.Edit your saved template.
The template you are editing can be later saved with your modifications to be used as a future template specially branded and designed to suit your own specific needs. Learn how to save a campaign as a template.
Use a professional template
More than 600 professional and tested templates are available depending on your plan. Brand one you like or use one that resonates with the season! Here is how you can do it:
1. Click on the Professional templates tab.
2. Use the filter and search bar to choose from our wide variety of themes.
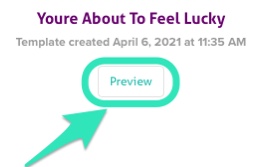
3. Select the Preview option below your preferred template.
4. Click on Select template in the top right corner of the preview email window.
5.Edit the template.
Reuse a previously sent campaign
If you are sending a newsletter, using the same template and changing the content is the easiest way to make it professional and coherent with your brand. Here is how to do it:
1. Click the Sent Campaigns tab.
2. Select the Preview option below your preferred template.
3. Click on Select template in the top right corner of the preview email window.
4. Edit the template.
Design your own template
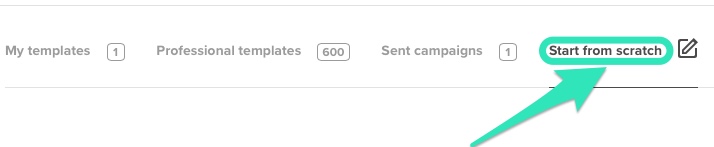
If you feel comfortable with your design talent or have a specialist who can do it, you can easily create your own template. But be careful: designing an email that is displayed appropriately in all browsers is tricky! To create your own template from square one, select the Start from scratch tab.
You can then choose from these three different options:
Start with the essentials
Start with a blank canvas
Start with your own code
Start with the essentials
Choose this option to open the editor with a basic template that you can then edit as you wish. Learn about the editor here.
Start with a blank canvas
Select a blank template and use your imagination to create your content.
Start with your own code
If you want to import HTML code written outside our tool, you can paste it to our editor with this option. The email can be edited using an HTML Editor.
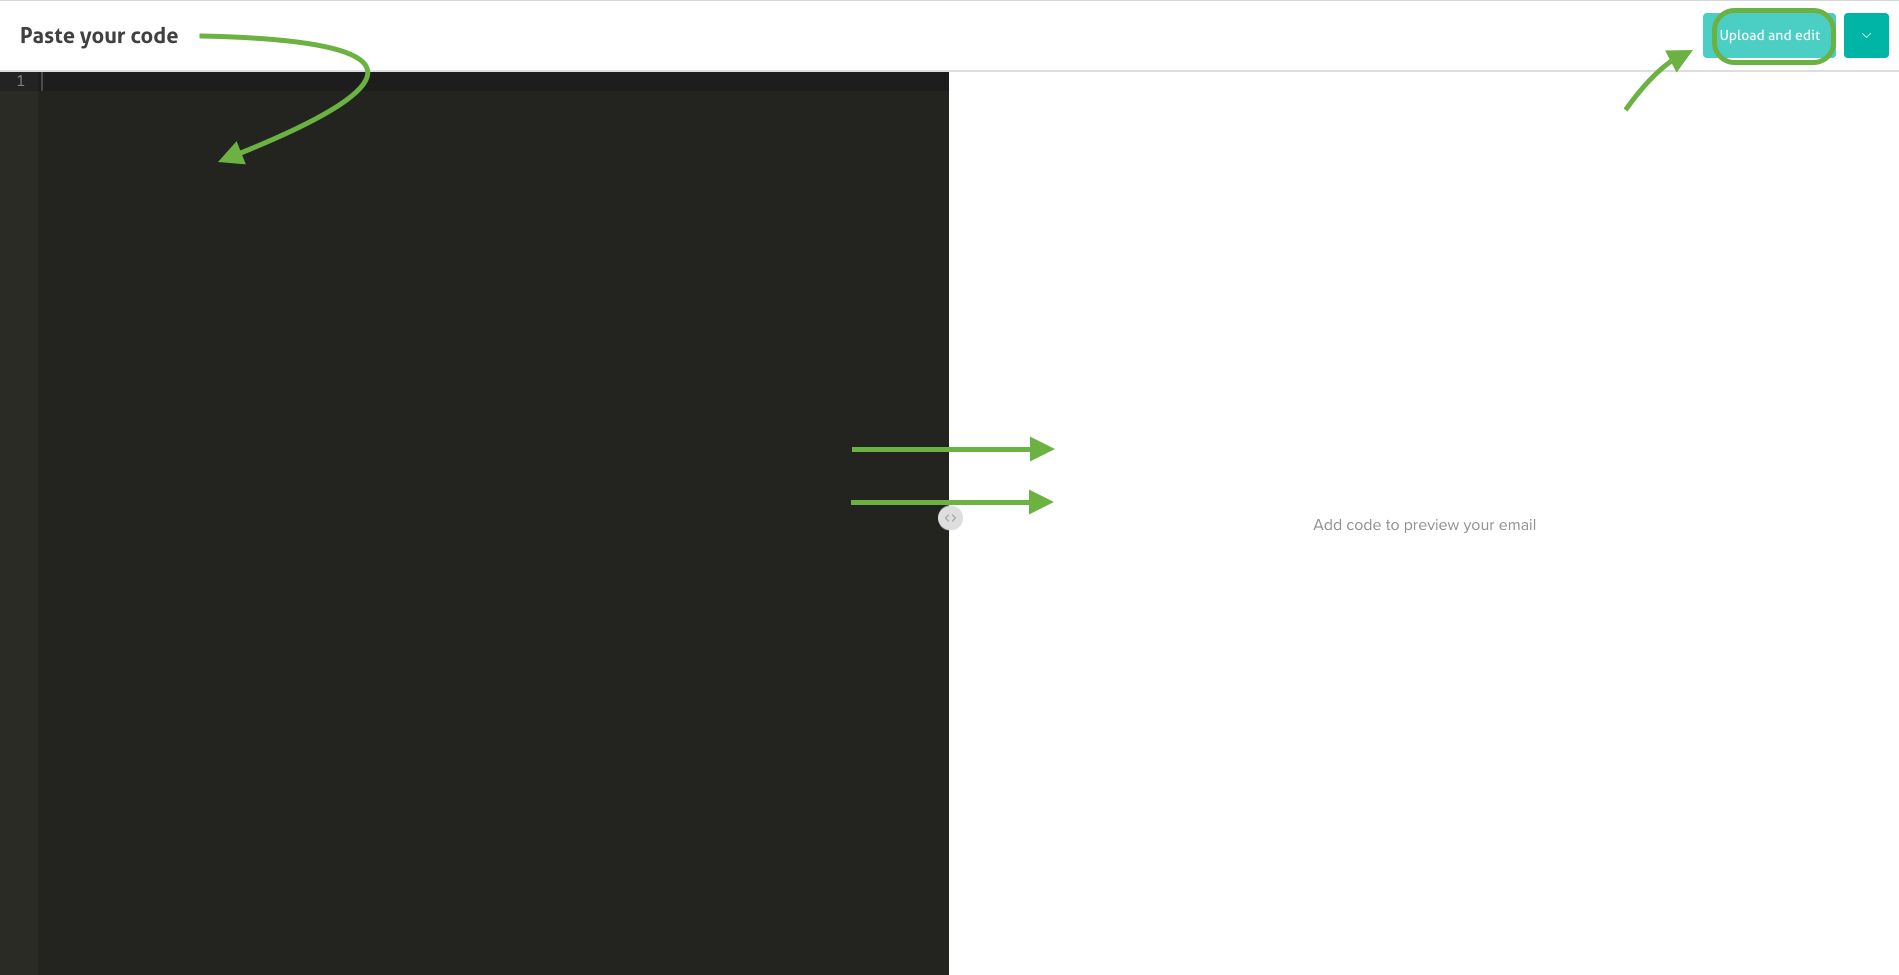
Here’s how you can open the editor:
Select the Start with your own code option.
Paste your code on the black portion of the page.
Click on Upload and Edit.
Test and send your campaign
Whatever choice you’ve made for your templates, it’s very important to test your campaign thoroughly before sending any emails to your clients., especially with a new design. Test it on different email browsers and don’t forget to check on your phone too. Displaying a template on any platform can be complex! Put a subject line on it, choose a time and date, sit back, and watch the results!
You can use a variety of topics as content for your campaign. We suggest you contact us if you are still not sure what to use for your content, we’ll be happy to talk to you about your business and help you get started. You can also read our different articles about this on our blog.
Businesses of all sizes benefit from our email marketing services for sending, tracking and creating email marketing campaigns in addition to delivering the most essential emails efficiently. For optimal results, we recommend starting with:
You can import contacts from a CSV file (A comma-separated values file) or manually add them to your contact list. As always, we adhere to a strict anti-spam policy, which means you must have the contacts’ consent before adding them to your contacts list.
Why this is useful
Our app allows you to send emails to a list you have acquired with your hard work and prospecting. You can use this feature to easily import the precious list you have compiled into our system. We will cover how to add contacts to your lists in this article.
How to import your contacts
Import a CSV file
1. To import an Excel contact list into our system, you must first convert it using the software you have installed on your computer.
a. Open the contact list file using Excel. b. Click File then Save As. c. Choose a name for your contact list. In the Save as type list, choose CSV (comma delimited). d. Click Save.
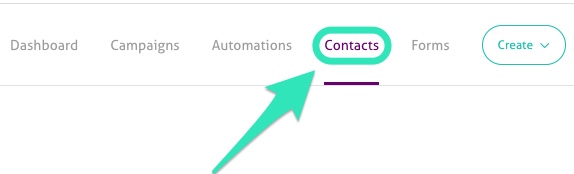
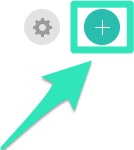
2. Go to Contacts
3. Click on the circle button with the + sign.
If you have multiple lists, click on the name of the list you wish to update
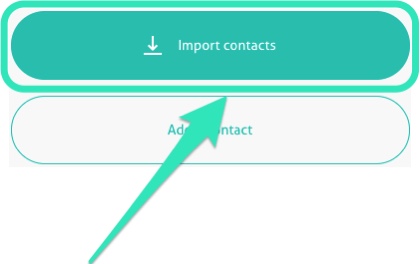
4. Select Import contacts.
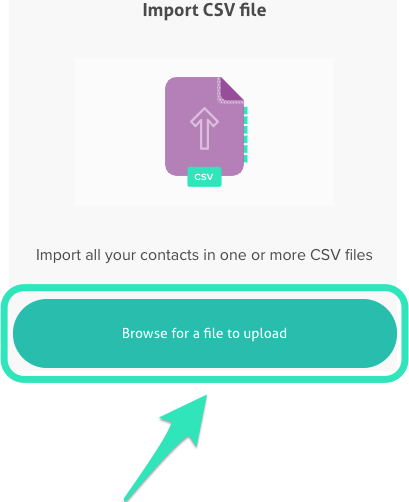
5. Select Import CSV file.
6. Click Browse for a file to upload to find the contact list file on your computer.
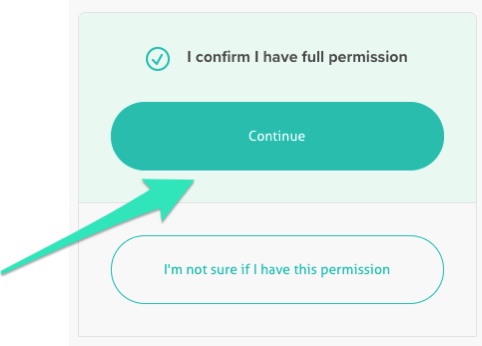
7. Once the file is selected, you can uncheck the fields you wish to remove from your list import. If the custom fields aren’t already in your list, you can create new fields at this step and copy their names from the header columns of your CSV. Click on Continue.
8. Click on Continue to confirm you have the consent to add this list.
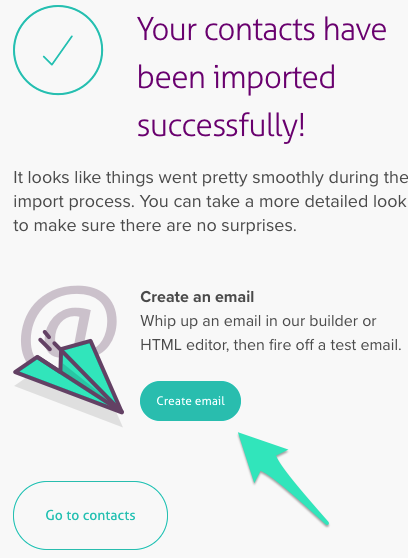
You will be alerted once the process is complete. Once it is done, you will be able to see your new contacts under the active subscribers list. For the time being, fields that include date/times have to be added in a yyyy-mm-dd hh:mm:ss format, otherwise the field will be replaced with N/A.
Import an individual contact
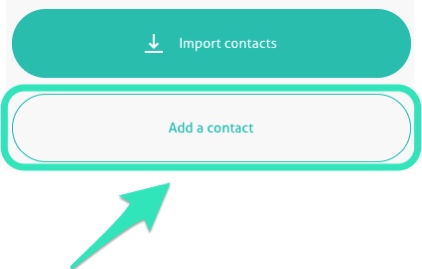
1. Go to Contacts
2. Click on the circle button with the + sign.
3. Click on Add a contact
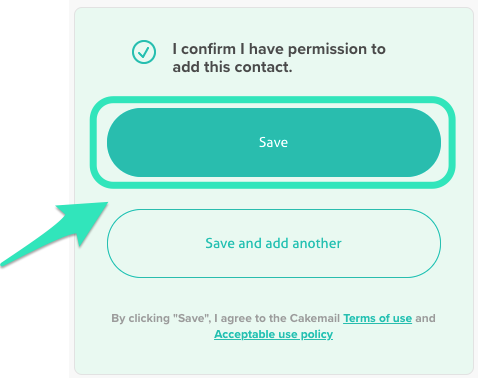
4. Fill in the contact information below and click on Save. (All attributes that are found in the list will be available to fill.)
5. Alternatively, click on Save and add another, to import a new contact.
Tips and recommendations
We don’t want to overstate things, but it cannot be stressed enough; your recipients must have subscribed to your list online and have opted in to receive one or more mailing types. With everything in order, It’s now time to start sending emails to your contacts!
Tips
Excel tip #1 – Some programs will import your data and combine fields like first and last names in the same column. If this happens to you, be sure to select “space” and “comma” separators in the options provided when opening a CSV from an outside source. This will separate your data into different columns instead of bunching up all the information in one single field.
Excel tip #2 – Replace (Ctrl + h for Windows Users, CMD+SHIFT+H for Mac users). Sometimes imports can get stuck because your files are full of unwanted punctuation. Think of Replace as seek and destroy for errant characters. In the Edit menu select Replace or hit Ctrl + h on your keyboard (CMD+SHIFT+H for Mac), in the “Find What:” field type in whatever it is you want to mass replace, leave the “Replace With” field blank and click “Replace All”.
Excel tip #3 – Save your CSV file in Unicode UTF-8 format, as that is the default for most online databases.
Email marketing campaigns consist of one email sent simultaneously to a large number of people with a specific objective; businesses worldwide use these to help them sell, connect and achieve their goals. In the long run, you can strive to get your subscribers to sign up for a webinar or purchase something on your site, but in the short term, you have to primarily focus on the interest of the reader and strengthen your relationship. Read more about it in our article about Content Strategy.
Why this is important
The majority of people check their email several times daily, so emailing your customers about your product makes sense. A direct relationship with your audience can only be established through it. Hence, email marketing is the best way to nurture leads. With a few clicks, you can connect with hundreds, thousands, or even more clients.
Text, images, videos, animations, and much more can all be used to convey your message. Your results will be tracked, such as how many people opened your campaign, clicked on it, how many were spammed, etc. Ultimately, it is a proven cost-effective marketing strategy.
How to create a campaign
You can send your recipients a campaign with our email marketing app. You have multiple options available when creating one; here is a brief overview of how to get started.
To start the creation process, select the Create tab in the upper right corner of the app, and click on Campaign.
You can then choose from the following options:
Use your own templates
Use a professional template
Reuse a previously sent campaign
Design your own template
Once you’ve selected an option, you’ll be brought to the Email designer where you can personalize and edit your template. Learn more about the Email designer.
Use your own templates
You might have built or branded a template and want to use it again. Here is how you can do it:
1. Click on the My Templates tab,
2. Select the Preview option below your preferred template.
3. Click on Select template in the top right corner of the preview email window.
4. You can filter by the type of editor: HTML Editor or Email Designer.
5.Edit your saved template.
The template you are editing can be later saved with your modifications to be used as a future template specially branded and designed to suit your own specific needs. Learn how to save a campaign as a template.
Use a professional template
More than 600 professional and tested templates are available depending on your plan. Brand one you like or use one that resonates with the season! Here is how you can do it:
1. Click on the Professional templates tab.
2. Use the filter and search bar to choose from our wide variety of themes.
3. Select the Preview option below your preferred template.
4. Click on Select template in the top right corner of the preview email window.
5.Edit the template.
Reuse a previously sent campaign
If you are sending a newsletter, using the same template and changing the content is the easiest way to make it professional and coherent with your brand. Here is how to do it:
1. Click the Sent Campaigns tab.
2. Select the Preview option below your preferred template.
3. Click on Select template in the top right corner of the preview email window.
4.Edit the template.
Design your own template
If you feel comfortable with your design talent or have a specialist who can do it, you can easily create your own template. But be careful: designing an email that is displayed appropriately in all browsers is tricky! To create your own template from square one, select the Start from scratch tab.
You can then choose from these three different options:
Start with the essentials
Start with a blank canvas
Start with your own code
Start with the essentials
Choose this option to open the editor with a basic template that you can then edit as you wish. Learn about the editor here.
Start with a blank canvas
Select a blank template and use your imagination to create your content.
Start with your own code
If you want to import HTML code written outside of our tool, you can paste it to our editor with this option. The email can be edited using an HTML Editor.
Here’s how you can open the editor:
Select the Start with your own code option.
Paste your code on the black portion of the page.
Click on Upload and Edit.
Test and send your campaign
Whatever choice you’ve made for your templates, it’s very important to test your campaign thoroughly before sending any emails to your clients., especially with a new design. Test it on different email browsers and don’t forget to check on your phone too. Displaying a template on any platform can be complex! Put a subject line on it, choose a time and date, sit back, and watch the results!
You can use a variety of topics as content for your campaign. We suggest you contact us if you are still not sure what to use for your content, we’ll be happy to talk to you about your business and help you get started. You can also read our different articles about this on our blog.
Before you send your campaign, you can test it properly by previewing it. We’ll show you how to do it and what you need to verify before you send it. Before you confidently hit your send button, we’ll walk you through all the questions you need to answer.
Why testing your campaign is important
To make sure you send out the best version of your email, you must test it thoroughly before it is sent. Different browsers and platforms may display your content differently, affecting the recipient’s experience.
How to preview and test your campaign
You can begin testing by clicking on the eye icon on the top right side of the email designer. You can view the email’s content on either the desktop or the mobile version.
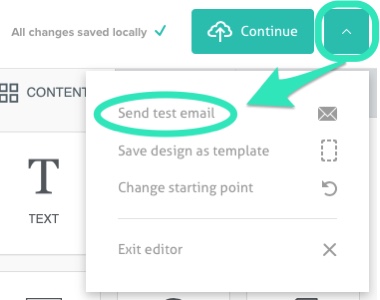
Test your email (you may also want to send it to a friend to check for typos), so you can see how your recipients will see it. Be sure to send yourself a test of your email by clicking on the arrow in the upper right corner of the email designer and selecting Send test email.
Accordingly, every time you change something, send yourself another test. In general, everything needs to be double-checked.
Checklist of things to verify before sending
Proofread the content in the email designer; here are some points to consider.
☐ Preview: Check the desktop and mobile versions to make sure the information displays appropriately.
Header
☐ Is there a link to show the email in the browser?
☐ Is it explained to the subscriber that they subscribed to the newsletter?
The email body
☐ Do all the images display correctly?
☐ When you mouse over the images, is there a clear alternate text that pops up?
☐ Do all the links work?
☐ Are the links taking you to the right place?
☐ Do special characters display correctly?
Footer
☐ Do you have an unsubscribe link [UNSUBSCRIBE]?
☐ Do you have the [CLIENT.ADDRESS] tag?
Send
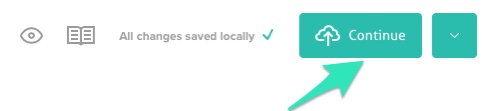
You can continue to the next step when you’ve finished testing by clicking the Continue button.
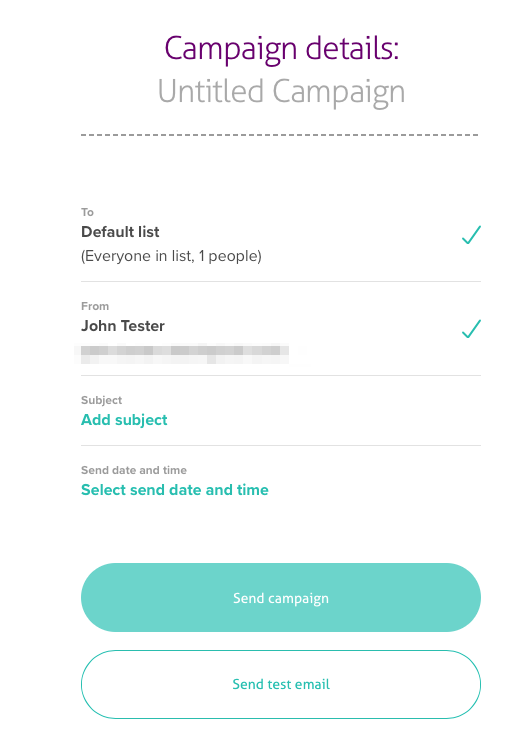
Here it would help if you tripled check the Summary of the Campaign and chose the recipients.
☐ Campaign Name: Choose the name of the campaign.
☐ From Name and Email: Make sure the sender is recognizable.
☐ To: Choose the correct list.
☐ Subject: The subject should be clear and not contain any typos.
Choose the sending date and time
Send as soon as possible
If you’re ready to send it now, select the Send as soon as a possible option and click the Send button.
Schedule for later
Select the Specify a time to send option and enter a date and time to schedule your email for later. The campaign can be designed two calendar years in advance (the current and the following year).
Send your campaign
Following this guide, you’ll be ready to hit that green send button confidently.
In this article we’ll show you the tools at your disposal to track your email marketing success, or lack thereof, in order to better plan your campaigns in the future. Email marketing results tracking is crucial to your success.
Why tracking your stats is important
A proper measurement of your email marketing performance is essential to better plan your campaigns. An effective campaign is characterized by a high open rate and a low bounce rate, and one that receives few unsubscribes and SPAM complaints.
How to track your campaign’s performance
To keep track of how your campaign is doing, follow these steps:
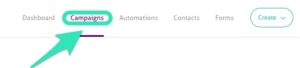
Select the Campaigns tab.
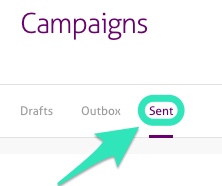
In the Campaigns menu select the Sent option.
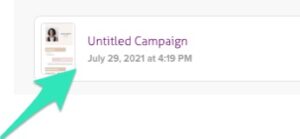
Choose and click on the campaign for which you want to assess the performance.
In this page, you can track the performance of your campaign.
The following terms are displayed for your review:
Open rate:
This is the percentage of people who opened the email.
You can increase open rates by being a recognized sender, writing a clear subject line, and using a good pre-header.
Click rate:
This is the percentage of people who clicked on one of the links in your email.
Make your information easy to understand and give readers a clear call to action to boost your click rates.
Unsubscribe rate:
A subscriber may no longer wish to receive emails from you. In this case, if they click on the ‘[UNSUBSCRIBE]’ link, they willfully remove themselves from your list.
Delivery rate:
Both the delivered and bounced email percentages are shown here.
Bounces:
A bounce occurs when a campaign is not delivered to a recipient.
For more information on this subject, read our article.
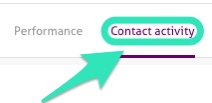
How to track the contact activity
You can also track the contact activity. To see each individual contact’s activity in regard to your campaign, select the Contact activity tab.
Here you can see which contact opened, clicked on or marked your email as spam. Likewise, you can see which specific recipients unsubscribed or bounced.
Spam:
Email that is unsolicited and commercial in nature. Currently we can only measure the complaints for specific internet service providers, but all internet service providers track SPAM complaints, and the overall number of complaints impacts your sender’s reputation.
Customer engagement is the constant conversation between a company and its customers, in regard to goods or services offered by the business and sought by the clients. To generate this engagement, you can start by keeping a recognizable format throughout your campaigns. In this way, you can save time when creating your next email by duplicating the first one you sent. You can learn how to do it here.
The engagement rate lets you have an idea of how well your campaigns are doing and add room for improvement.
Why this is important
A list with a high level of engagement shows your recipients are interested in what you are sending them. If your engagement is low, you should consider different strategies to boost your open and click rates.
Your customer base can be contacted via email to start or continue a conversation. Talking about promotions and special deals is great, but it doesn’t generate a lot of conversation. According to this rule of thumb, 80% of your communications should be content that adds value to your customer, and only 20% should be sales pitches.
How to keep your customers engaged
The latest great deal is a great conversation starter, but here are some additional ideas:
Be the expert
Provide relevant information about your industry: If it’s a hair salon, you could separate your customers by length of hair, and suggest a variety of styles. Consider sharing a recipe for salad dressing or offering wine and meal suggestions if you’re a restaurant.
Customer reminders
It is equally crucial to remind current customers why they should keep using or buying a brand as it is to promote it to potential customers. Mechanics, for example, could send an email reminding customers to change winter tires, or get their Air Conditioning checked.
You can just say “hi”
Sometimes, you can just say “Merry Christmas” or “Happy New Year” without saying “Big Blowout Offer”!” Greet your customers and let them know you just want to stay in touch with them.
It’s even better to say thank you
Did you attend an event where you met a lot of new people? Tell them you appreciate their time by sending them a thank you email and asking them about what interests them.
Share a story
If you’re a wedding planner, and you witnessed an awesome tradition taking place, you might be able to share it with your other clients.
Any company changes
Attending a trade show out of town? Email your customers in a city to let them know you’ll be nearby. Are you moving? Share your new address.
Are you visiting?
Are you attending a trade show? Hosting a special event? Invite your customers via email. Aside from being cheaper and more eco-friendly, you can also actually inspect who reads the invitation.
Make sure your customers are engaged with relevant and interesting content according to your brand identity and marketing strategy. We are always delighted to propose new ways we can continue to enrich your email experience.