You can import contacts from a CSV file (A comma-separated values file) or manually add them to your contact list. As always, we adhere to a strict anti-spam policy, which means you must have the contacts’ consent before adding them to your contacts list.
Why this is useful
Our app allows you to send emails to a list you have acquired with your hard work and prospecting. You can use this feature to easily import the precious list you have compiled into our system. We will cover how to add contacts to your lists in this article.
How to import your contacts
Import a CSV file
1. To import an Excel contact list into our system, you must first convert it using the software you have installed on your computer.
a. Open the contact list file using Excel.
b. Click File then Save As.
c. Choose a name for your contact list. In the Save as type list, choose CSV (comma delimited).
d. Click Save.
2. Go to Contacts
3. Click on the circle button with the + sign.
If you have multiple lists, click on the name of the list you wish to update
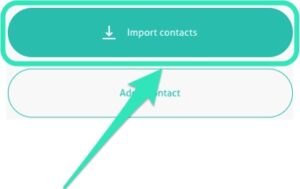
4. Select Import contacts.
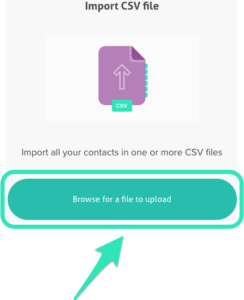
5. Select Import CSV file.
6. Click Browse for a file to upload to find the contact list file on your computer.
7. Once the file is selected, you can uncheck the fields you wish to remove from your list import. If the custom fields aren’t already in your list, you can create new fields at this step and copy their names from the header columns of your CSV. Click on Continue.
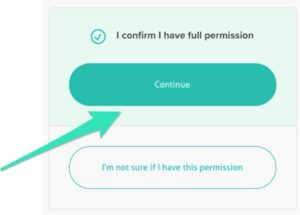
8. Click on Continue to confirm you have the consent to add this list.
You will be alerted once the process is complete. Once it is done, you will be able to see your new contacts under the active subscribers list. For the time being, fields that include date/times have to be added in a yyyy-mm-dd hh:mm:ss format, otherwise the field will be replaced with N/A.
![]()
Import an individual contact
1. Go to Contacts
2. Click on the circle button with the + sign.
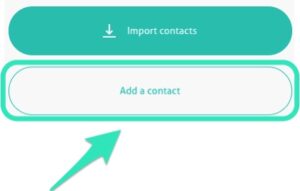
3. Click on Add a contact
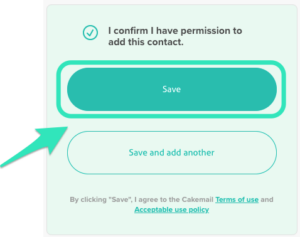
4. Fill in the contact information below and click on Save. (All attributes that are found in the list will be available to fill.)
5. Alternatively, click on Save and add another, to import a new contact.
Tips and recommendations
We don’t want to overstate things, but it cannot be stressed enough; your recipients must have subscribed to your list online and have opted in to receive one or more mailing types. With everything in order, It’s now time to start sending emails to your contacts!
Tips
Excel tip #1 – Some programs will import your data and combine fields like first and last names in the same column. If this happens to you, be sure to select “space” and “comma” separators in the options provided when opening a CSV from an outside source. This will separate your data into different columns instead of bunching up all the information in one single field.
Excel tip #2 – Replace (Ctrl + h for Windows Users, CMD+SHIFT+H for Mac users). Sometimes imports can get stuck because your files are full of unwanted punctuation. Think of Replace as seek and destroy for errant characters. In the Edit menu select Replace or hit Ctrl + h on your keyboard (CMD+SHIFT+H for Mac), in the “Find What:” field type in whatever it is you want to mass replace, leave the “Replace With” field blank and click “Replace All”.
Excel tip #3 – Save your CSV file in Unicode UTF-8 format, as that is the default for most online databases.


