Before you send your campaign, you can test it properly by previewing it. We’ll show you how to do it and what you need to verify before you send it. Before you confidently hit your send button, we’ll walk you through all the questions you need to answer.
Why testing your campaign is important
To make sure you send out the best version of your email, you must test it thoroughly before it is sent. Different browsers and platforms may display your content differently, affecting the recipient’s experience.
How to preview and test your campaign
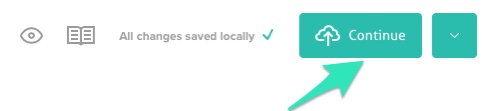
You can begin testing by clicking on the eye icon on the top right side of the email designer. You can view the email’s content on either the desktop or the mobile version.

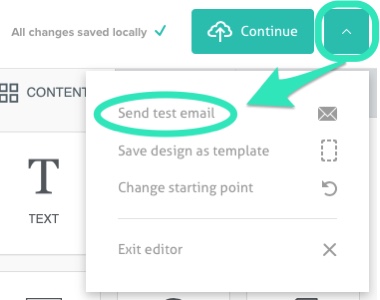
Test your email (you may also want to send it to a friend to check for typos), so you can see how your recipients will see it. Be sure to send yourself a test of your email by clicking on the arrow in the upper right corner of the email designer and selecting Send test email.
Accordingly, every time you change something, send yourself another test. In general, everything needs to be double-checked.
Checklist of things to verify before sending
Proofread the content in the email designer; here are some points to consider.
☐ Preview: Check the desktop and mobile versions to make sure the information displays appropriately.
Header
☐ Is there a link to show the email in the browser?
☐ Is it explained to the subscriber that they subscribed to the newsletter?
The email body
☐ Do all the images display correctly?
☐ When you mouse over the images, is there a clear alternate text that pops up?
☐ Do all the links work?
☐ Are the links taking you to the right place?
☐ Do special characters display correctly?
Footer
☐ Do you have an unsubscribe link [UNSUBSCRIBE]?
☐ Do you have the [CLIENT.ADDRESS] tag?
Send
You can continue to the next step when you’ve finished testing by clicking the Continue button.
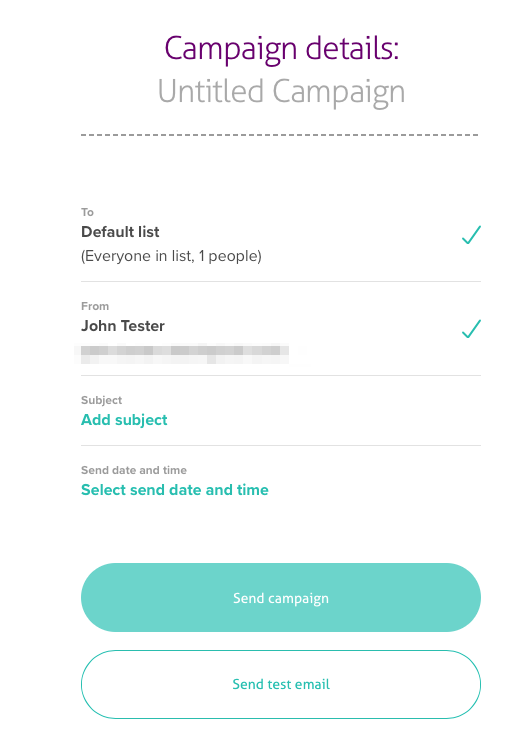
Here it would help if you tripled check the Summary of the Campaign and chose the recipients.
☐ Campaign Name: Choose the name of the campaign.
☐ From Name and Email: Make sure the sender is recognizable.
☐ To: Choose the correct list.
☐ Subject: The subject should be clear and not contain any typos.
Choose the sending date and time
- Send as soon as possible
If you’re ready to send it now, select the Send as soon as a possible option and click the Send button.
- Schedule for later
Select the Specify a time to send option and enter a date and time to schedule your email for later. The campaign can be designed two calendar years in advance (the current and the following year).
Send your campaign
Following this guide, you’ll be ready to hit that green send button confidently.